WHAT IS A “RECAP,” ANYHOW?
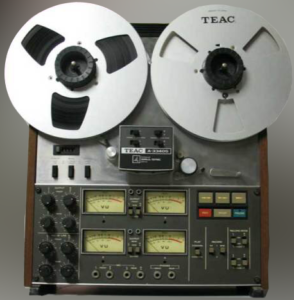
In this blog post we outline in detail a “recap” operation performed on an otherwise perfectly operational quadraphonic reel-to-reel tape deck.
WHAT’S A RECAP ALL ABOUT?
The very nature of our business at W. Cardone Productions is with legacy media equipment that has long since gone out of manufacture. In most cases, the equipment that is needed has been out of manufacture for many, many decades. The only option, therefore, is to obtain used pro-grade equipment.

But what about the elephant in the room? Here is a sample of considerations that ensue with used equipment such as a reel-to-reel deck pertaining to factory playback specifications.
- Its playback speed? (MRL lab tape required)
- Transport braking and motor torques?
- Wow and Flutter? (MRL lab tape required)
- Pinch roller pressure?
- Internal voltage regulation?
- Line in amplification to 0dB?
- Audio equalization (MRL lab tape required)
- The playback head
- angle?
- azimuth?
- Playback level adjustment VU meters
- Trap coil adjustment
All reel-to-reel tape decks have the above-enumerated servicing requirements. It also goes without saying that while the device may leave the factory in spec, after years of playing and sitting in storage… Well, you know the rest.
The machine may still “work” with some of those adjustments out of calibration and in many cases may perform quite admirably. But what if we don’t “get lucky”? What if the transport braking shoes have aged such that the braking torque is causing “spaghetti” or worse…broken tapes?
The obvious solution is to only buy properly serviced and refurbished machines. A regular schedule of maintenance can be maintained, shipping the machine off for professional scheduled maintenance. It is, of course, appropriate to pass the cost on to the customer. But here is the problem: there is only so much cost that the market will bear. The better solution is to do all of the maintenance and refurbishment in-house. Thus, the present blog post where we did a very unusual maintenance operation on an otherwise perfectly viable (and very expensive) machine.
WHAT ARE ELECTROLYTIC CAPACITORS?
Without going into the physics, these are polarized capacitors that in the early days of electronics could not be manufactured with high reliability. Consequently, we find ourselves in the need to routinely replace (at least the very large ones) on legacy electronics.
WHY GO WHOLE-HOG?
As noted above, it is usually only necessary to replace electrolytics that are very large in value such as those found in a device’s power supply. However, in this case, there were other maintenance objectives requiring a deep dive into the machine which therefore made those much smaller electrolytics accessible. In retrospect (considering that massive labor spent) it was not really worthwhile. The performance of the machine with respect to factory specifications was identical to what was measured before the recap.
FIRST STEP
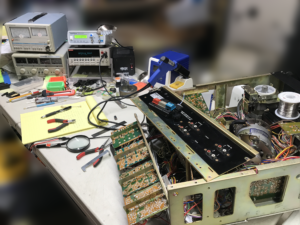
 Let’s look at the workbench where the recap was accomplished. Here you can see the very expensive quadraphonic tape deck partially disassembled on the workbench. Also note the Kenwood Wow and Flutter appearing in the upper left of the photo. Wow is a low-frequency cyclical tape speed variation. Teac specifies that the tape speed will be accurate within limits of a “wow” specification. Likewise, flutter is similar but is a measurement of the high-freqnency cyclical tape speed. This is one aspect of reel-to-reel technology that distinguishes it from CD. CD wow and flutter is always zero by definition.
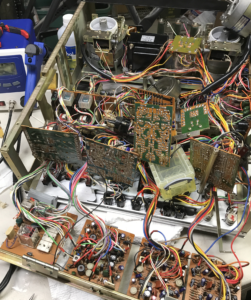
 Shown below that photo is a much more fully disassembled tape deck where now even the smallest electrolytic capacitors are accessible. Note also that this was a HUGE amount of labor getting it to this point. The obvious also is that all of that labor (and more) had to be duplicated for reassembly. To be honest, in the middle of the project I was wondering if I could EVER complete the project. But with determination and stamina, I did complete the project. Only thing… The performance characteristics I measured after the re-work, were still only up to factory specifications. There was no observable performance enhancement. But neither was I expecting the same.
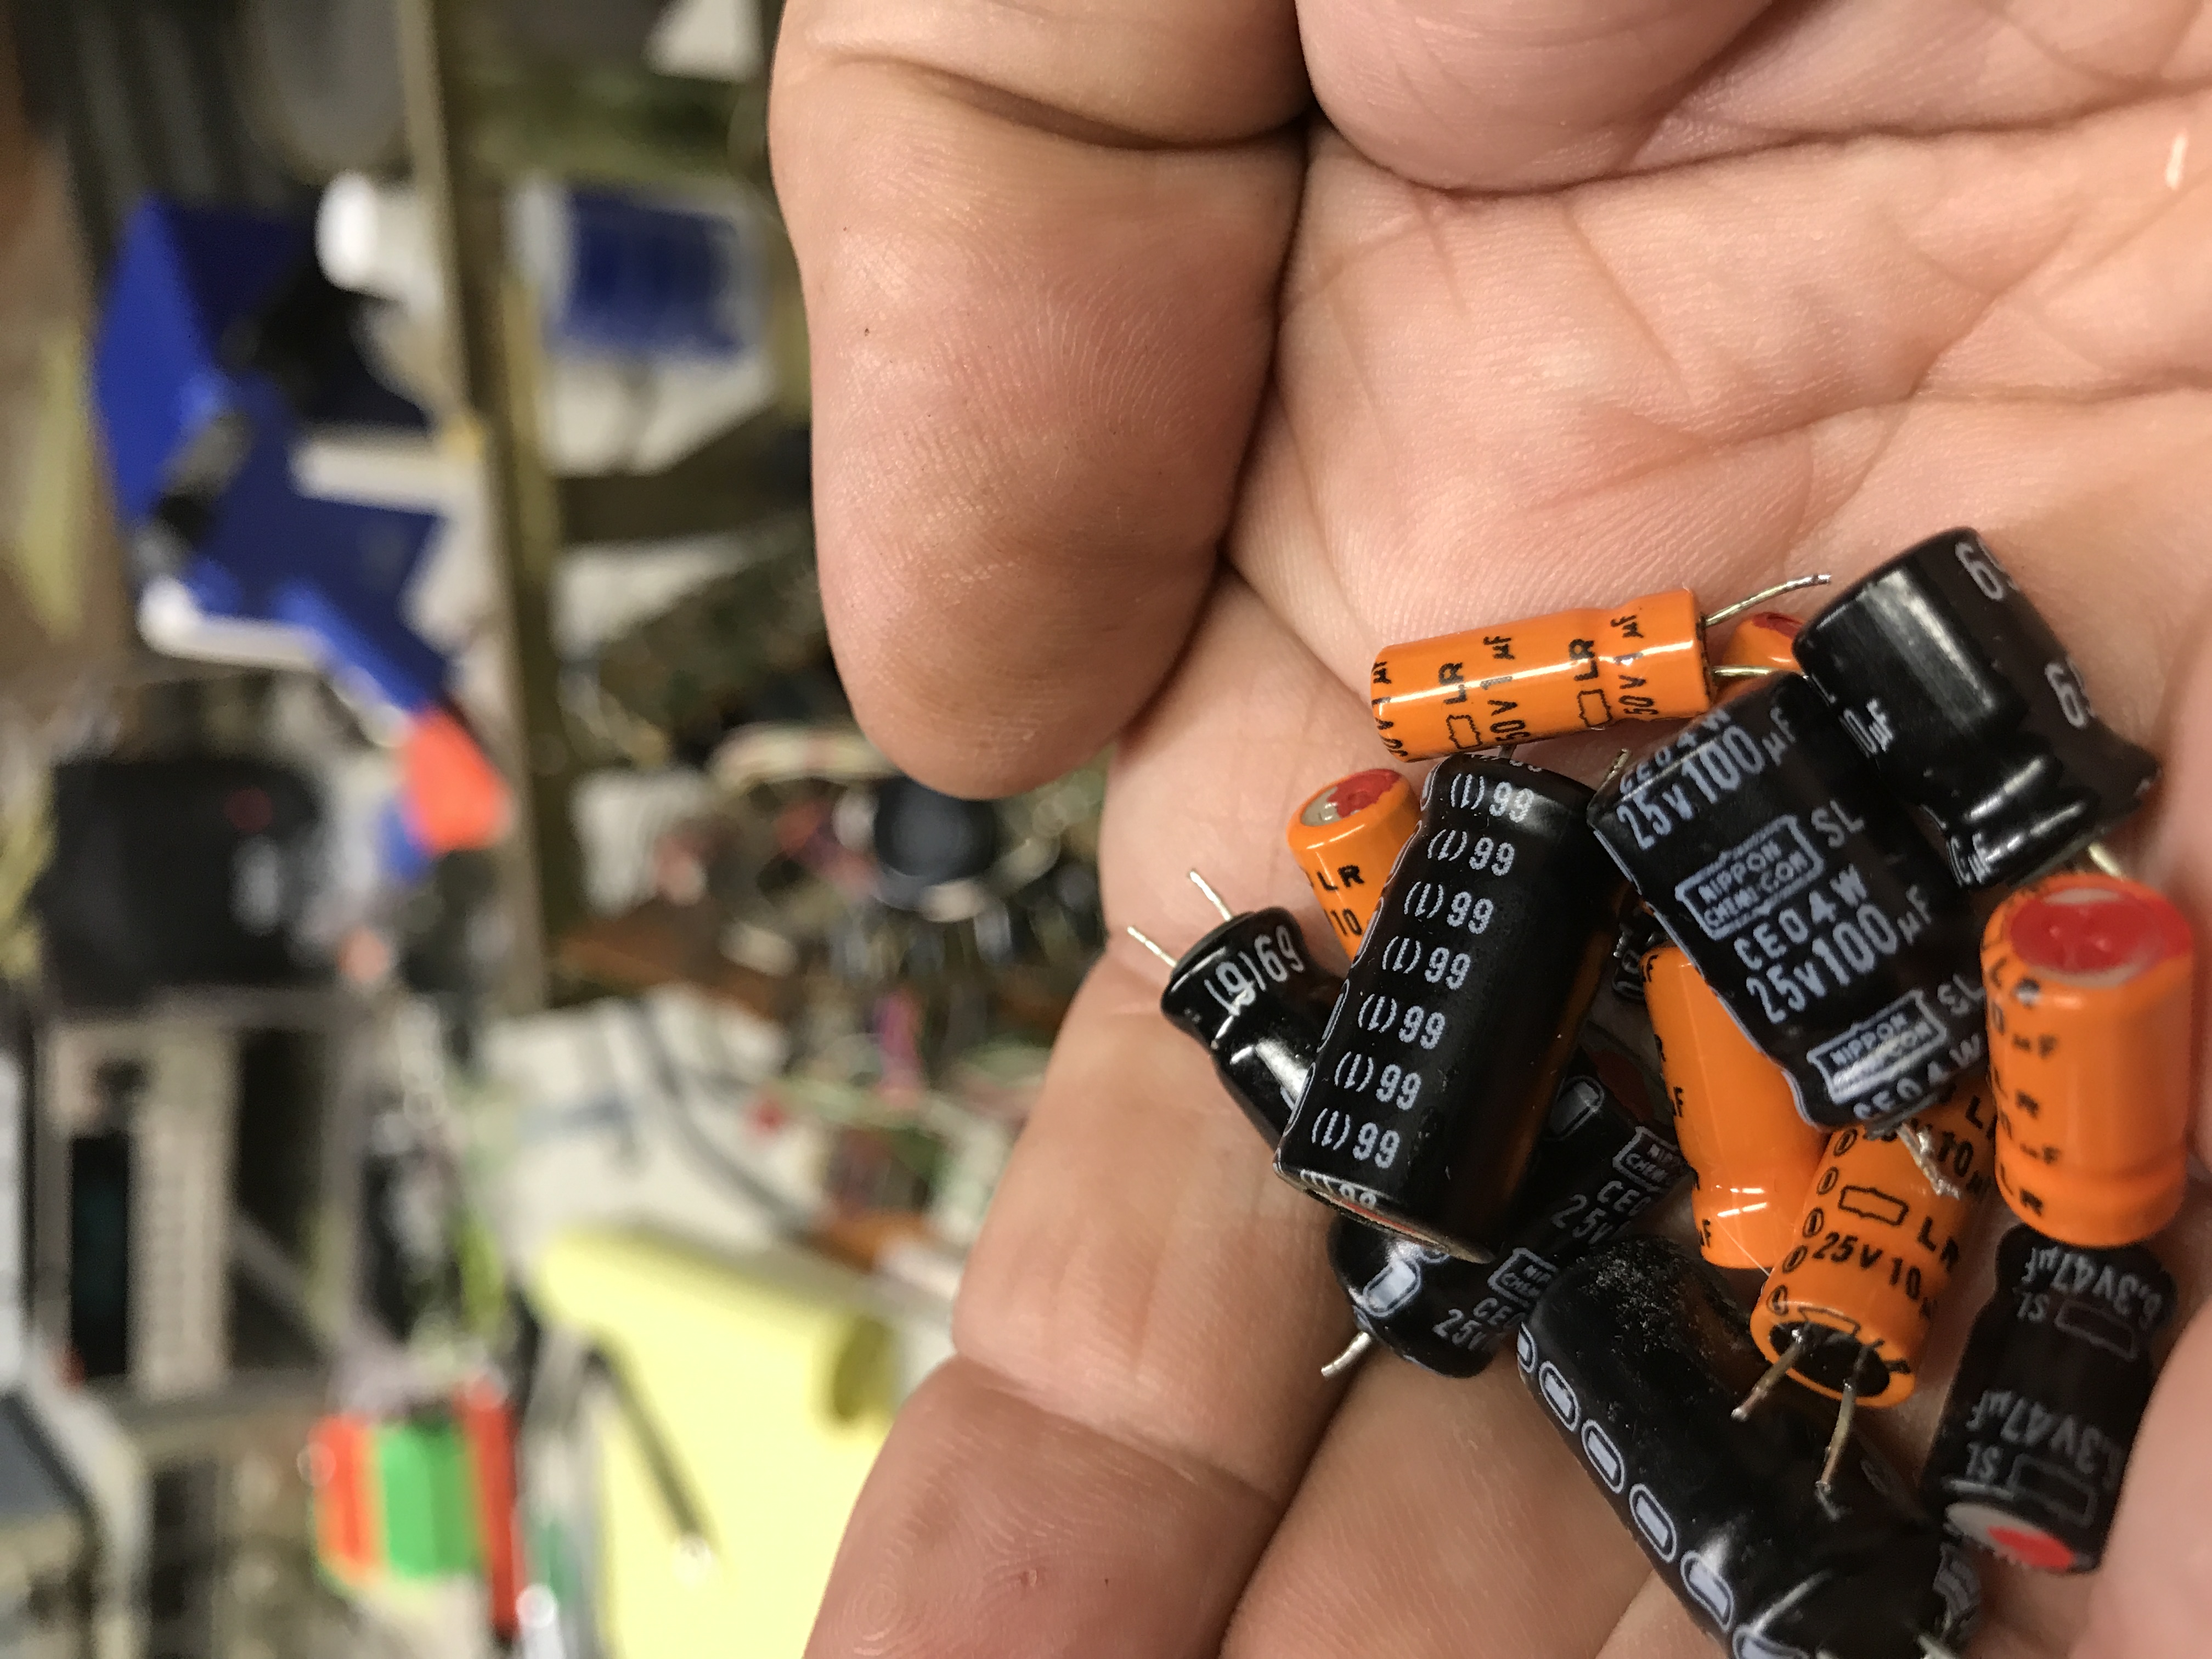
 And let us not forget to show what small electrolytic capacitors look like. There were scads and scads of them that were replaced for this operation. A sample is shown in the photo.
Please note the deep blue-colored instrument on the workbench. This is a de-soldering tool that was an absolute necessity for this project. The big advantage of a solder-vac tool such as this is that it makes a two-handed job into a one-handed job. With traditional de-soldering techniques, one hand holds the iron, the other holds the solder-wick (or something else) and you rely on some sort of jig to keep the electronics steady.
